

Our guide explains important tactics and gives tips on how to get through both stages of the Argos Abyss Raid with ease.
Abyss Raids are one of the most difficult challenges in Lost Ark. Our guide explains, in a nutshell, how to get through the first two phases of the Abyss Raid “Argos” unscathed and what you need to look out for in order to successfully complete the hunt.
Get out of the way!Basic Mechanics
The fight with Argos, like most of the other bosses in Lost Ark, requires you to use different basic mechanics.
The theme of Argos is Sun and Moon:
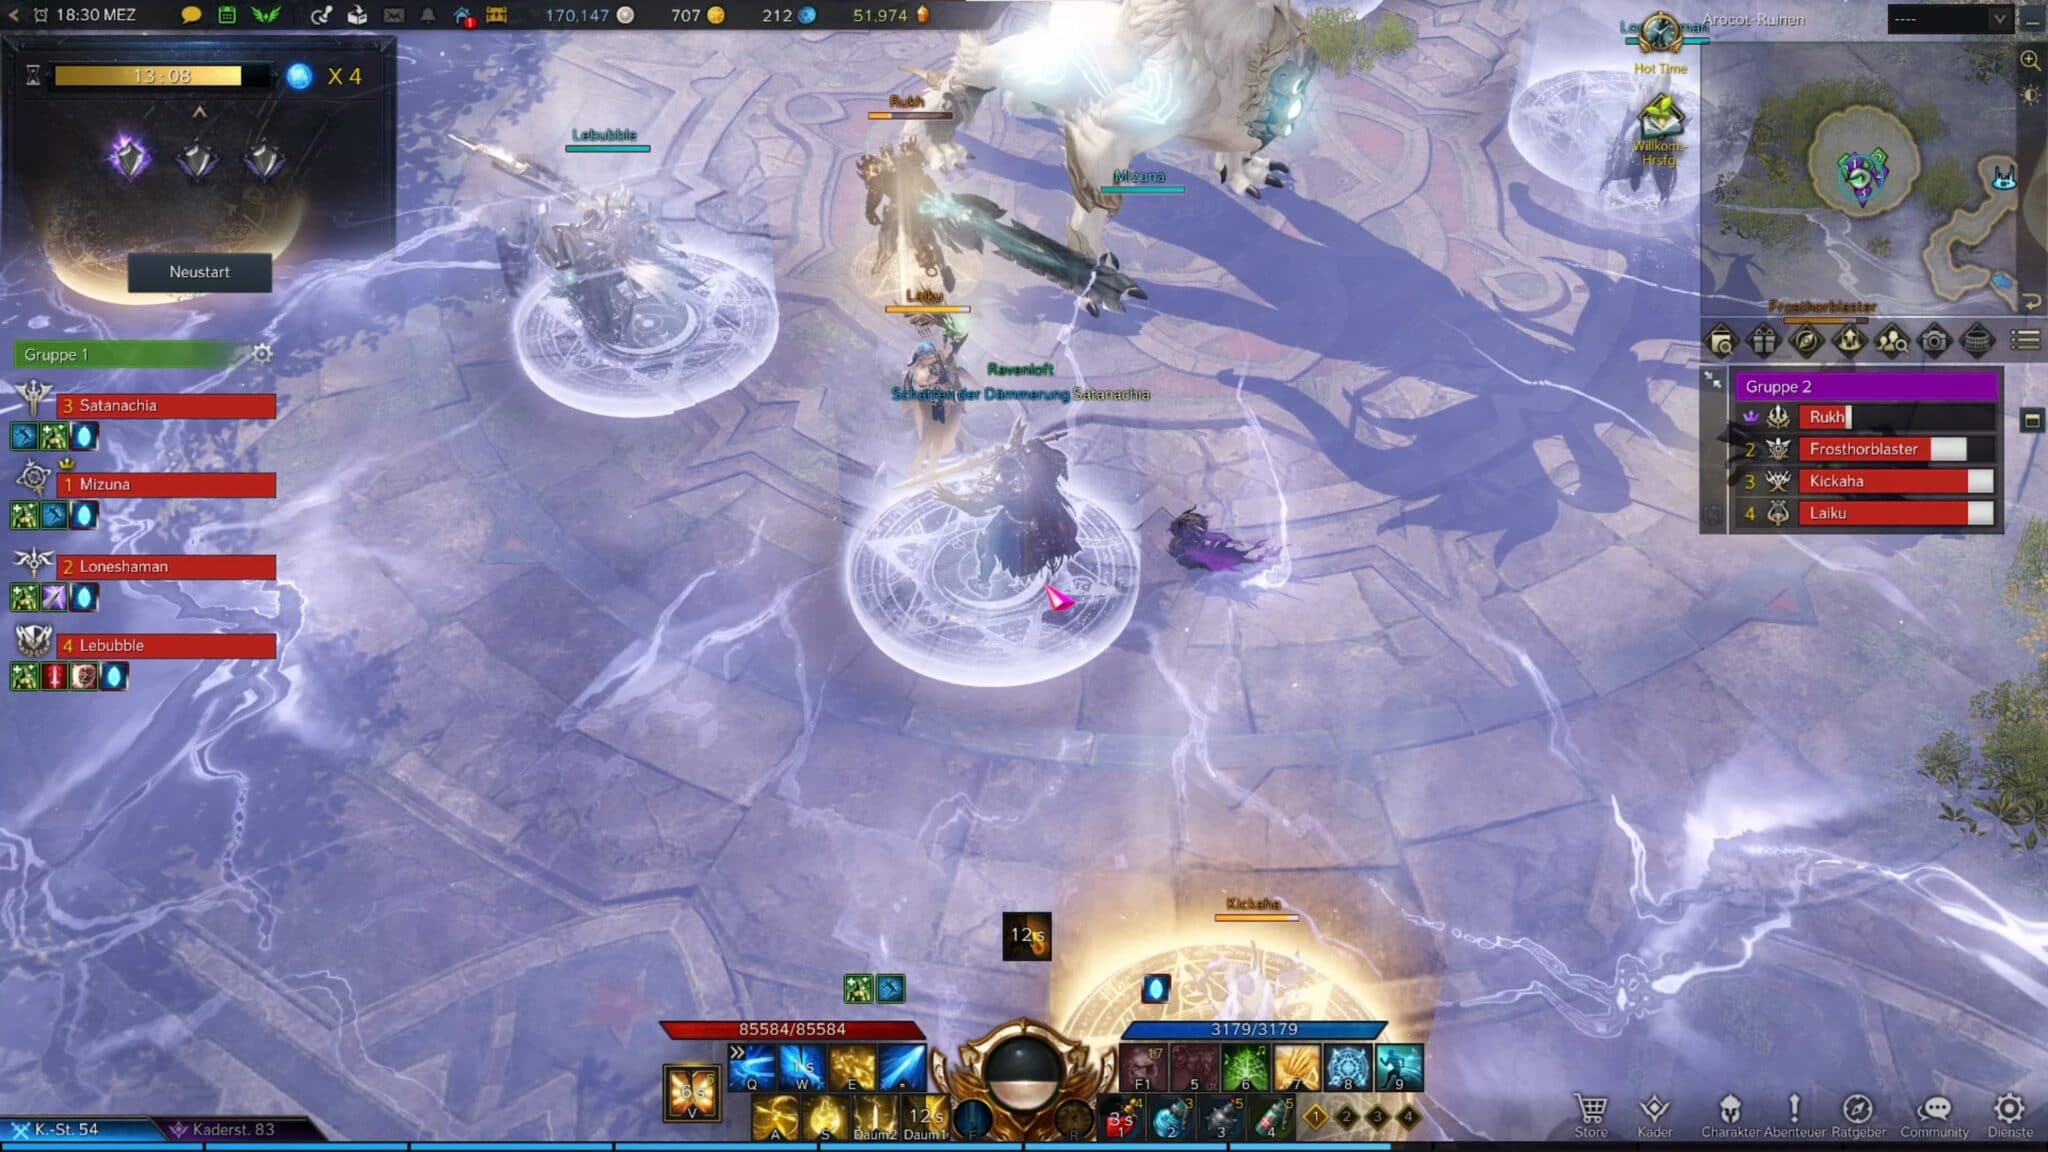
- At the beginning of each phase, raid groups are assigned a star. Players of the Sun group get a yellow and players of the Moon group get a purple circle under their character.
- Argos performs purple as well as yellow attacks during combat. Players with the same colour under their character, don’t suffer damage from these attacks.
Phase 1
You can dodge most of Argos’ attacks in the first phase, or counter them with your basic knowledge However, this does not apply to all of his mechanics. We explain the most important ones to you here:
Death Strike
After Argos teleports, eight circles appear on the ground. In each cardinal direction, a purple and a yellow circle appear, with the purple circle getting closer and the yellow circle getting further away from the boss.
To avoid the following death blow, divide your players so that there is one player from the sun group in each yellow circle and one player from the moon group in each purple circle. We recommend that you divide your players according to the group numbers: 1 North, 2 East, 3 South, 4 West.
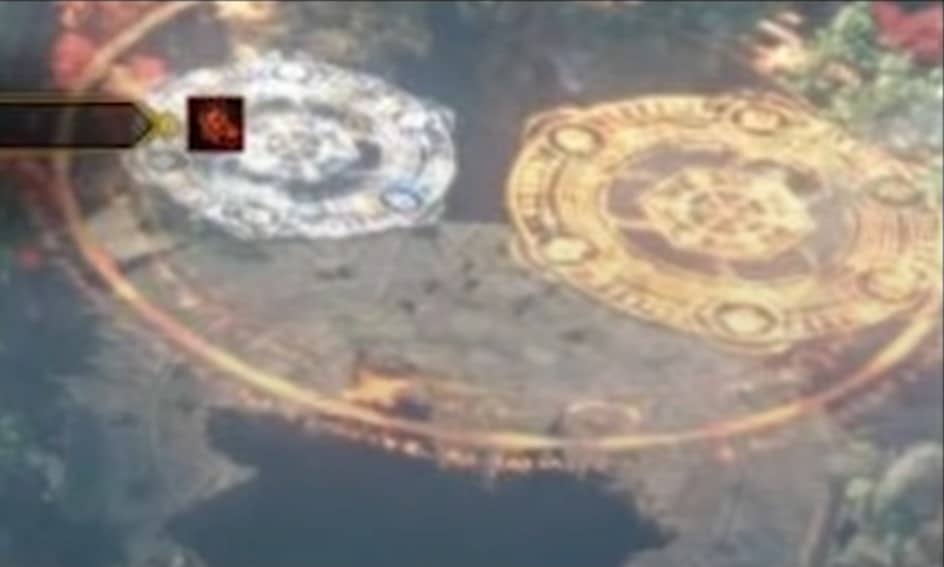
Equilibrium
Every time after Argos completes the death strike mechanic, a light blue circle will appear around him that will slowly taper off. During this mechanic, you have two choices:
Either balance the damage of both groups so that Argos receives equal damage from the sun and moon, or do no more damage until the circle has expired. We recommend the second method
Should you fail to maintain balance, Argos will perform a death strike on the group that has dealt less damage.
After this mechanic expires, change your assigned stars!
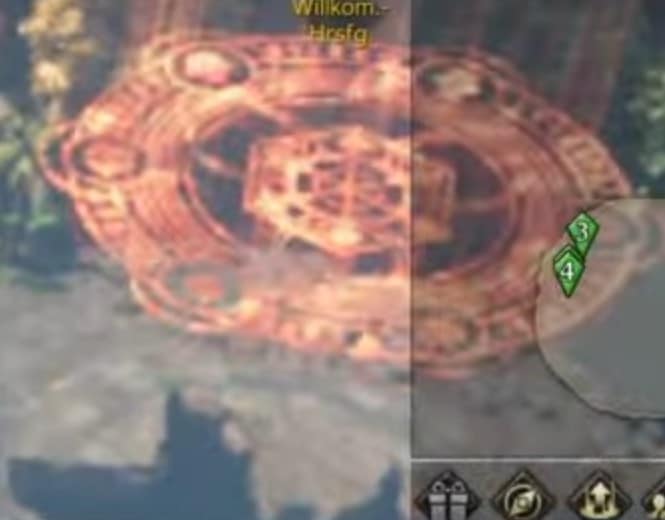
Little Sun Moon Pizza
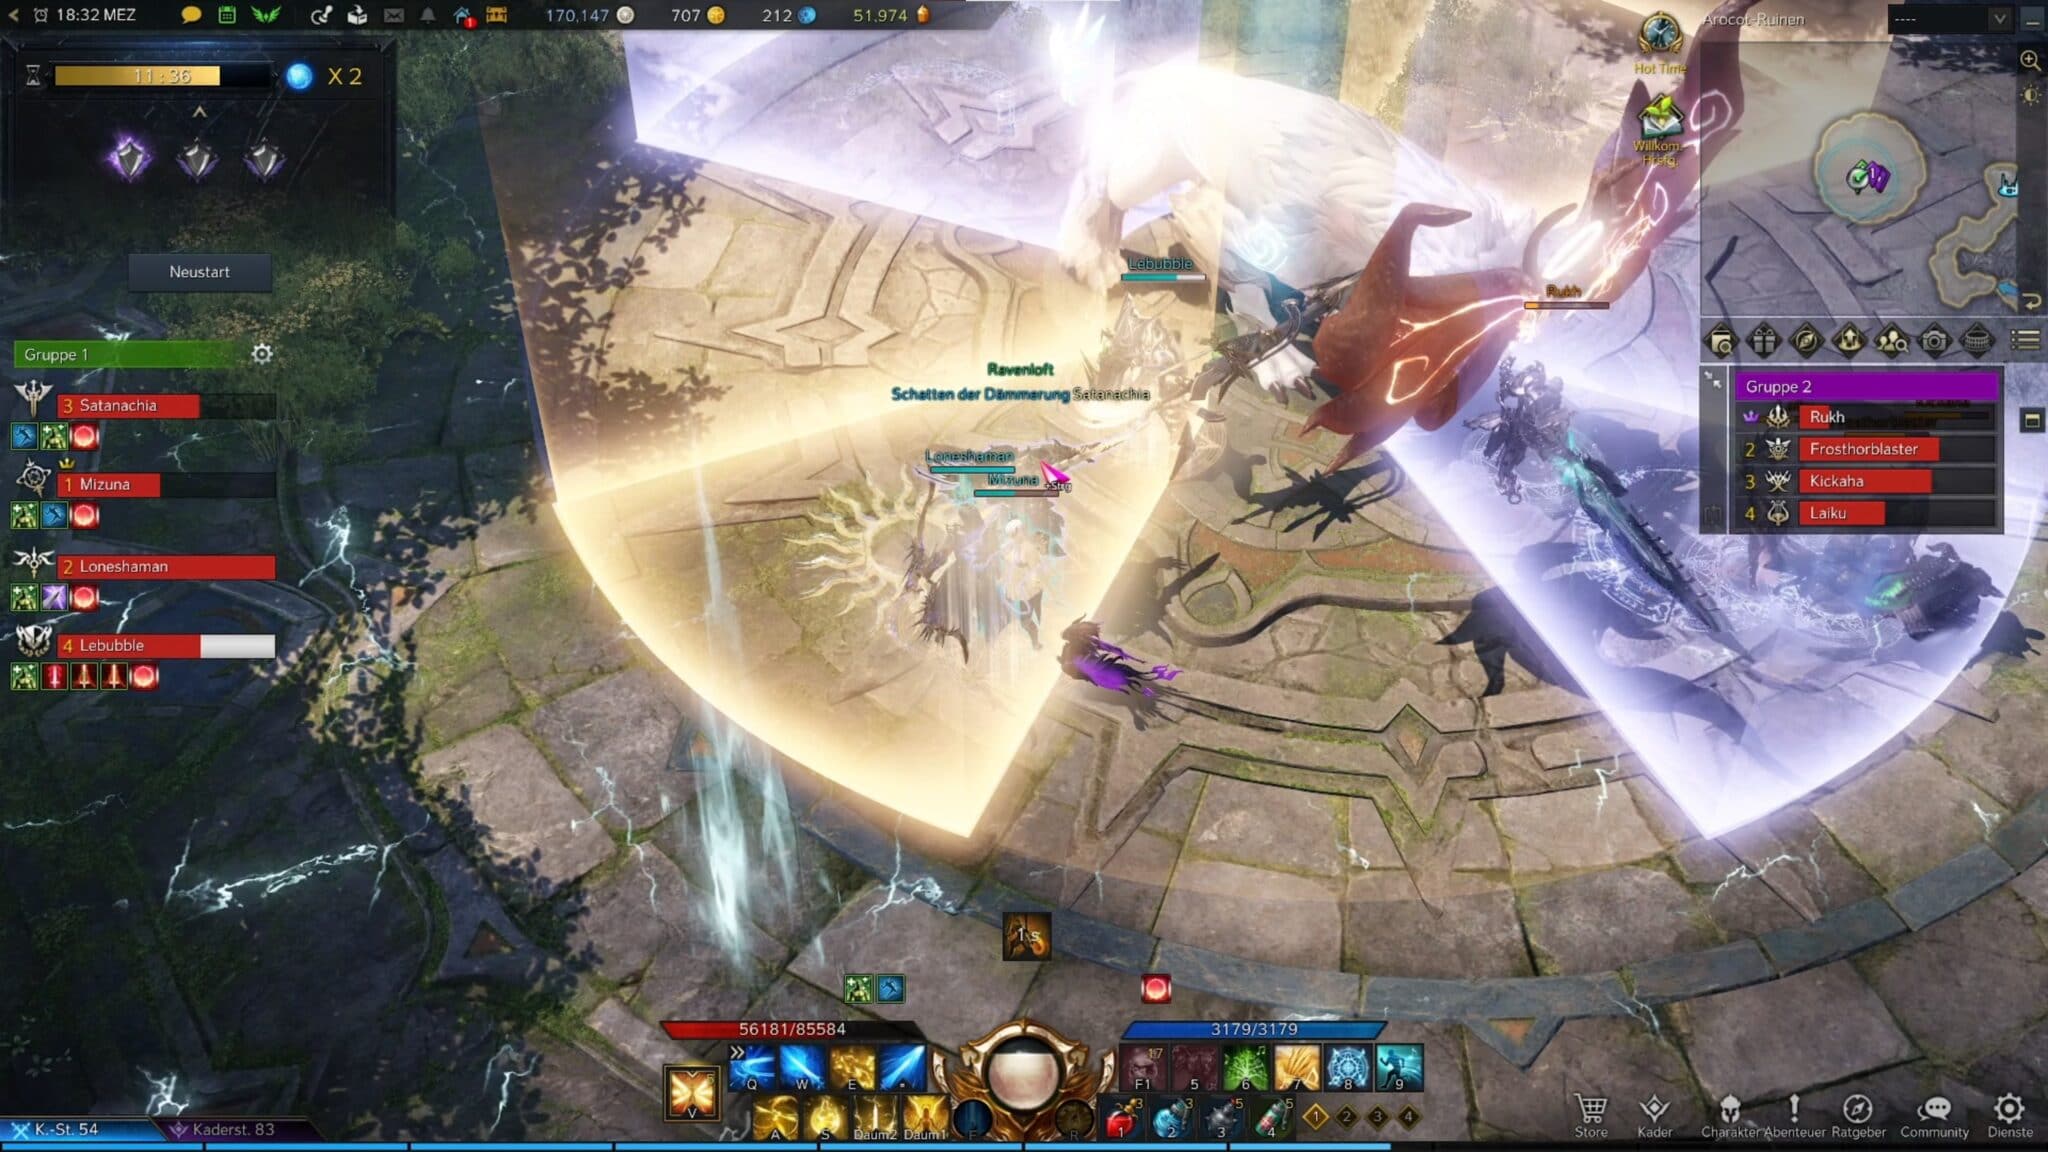
Argos teleports to the centre of the arena and begins a sequence of yellow and purple pizza slices around him. Here you again have two options:
Either you memorise the pattern and run as fast as possible in this order into the colour assigned to you to avoid all damage. Or you stand as a sun group in the lower left and as a moon group in the lower right piece of pizza (see picture).
We recommend the second method, because the fifth and strongest hit always happens in the same place and the previous attacks can simply negate your supporters with healing or shields.
Great Sun Moon Pizza
As with the small pizza, yellow and purple sections are displayed. However, with the large pizza, you must react quickly and run into the pieces with your celestial colour in order not to receive damage.
Balls
Argos summons either yellow or purple orbs. The group with the corresponding colour should collect them to prevent an explosion.
Ring
A purple or yellow ring appears around the boss. The group with the opposite colour gets an indicator above their character, which slowly runs down inside the circle. If the bar empties completely, your character dies. To refill the bar, you must leave the circle.
Phase 2
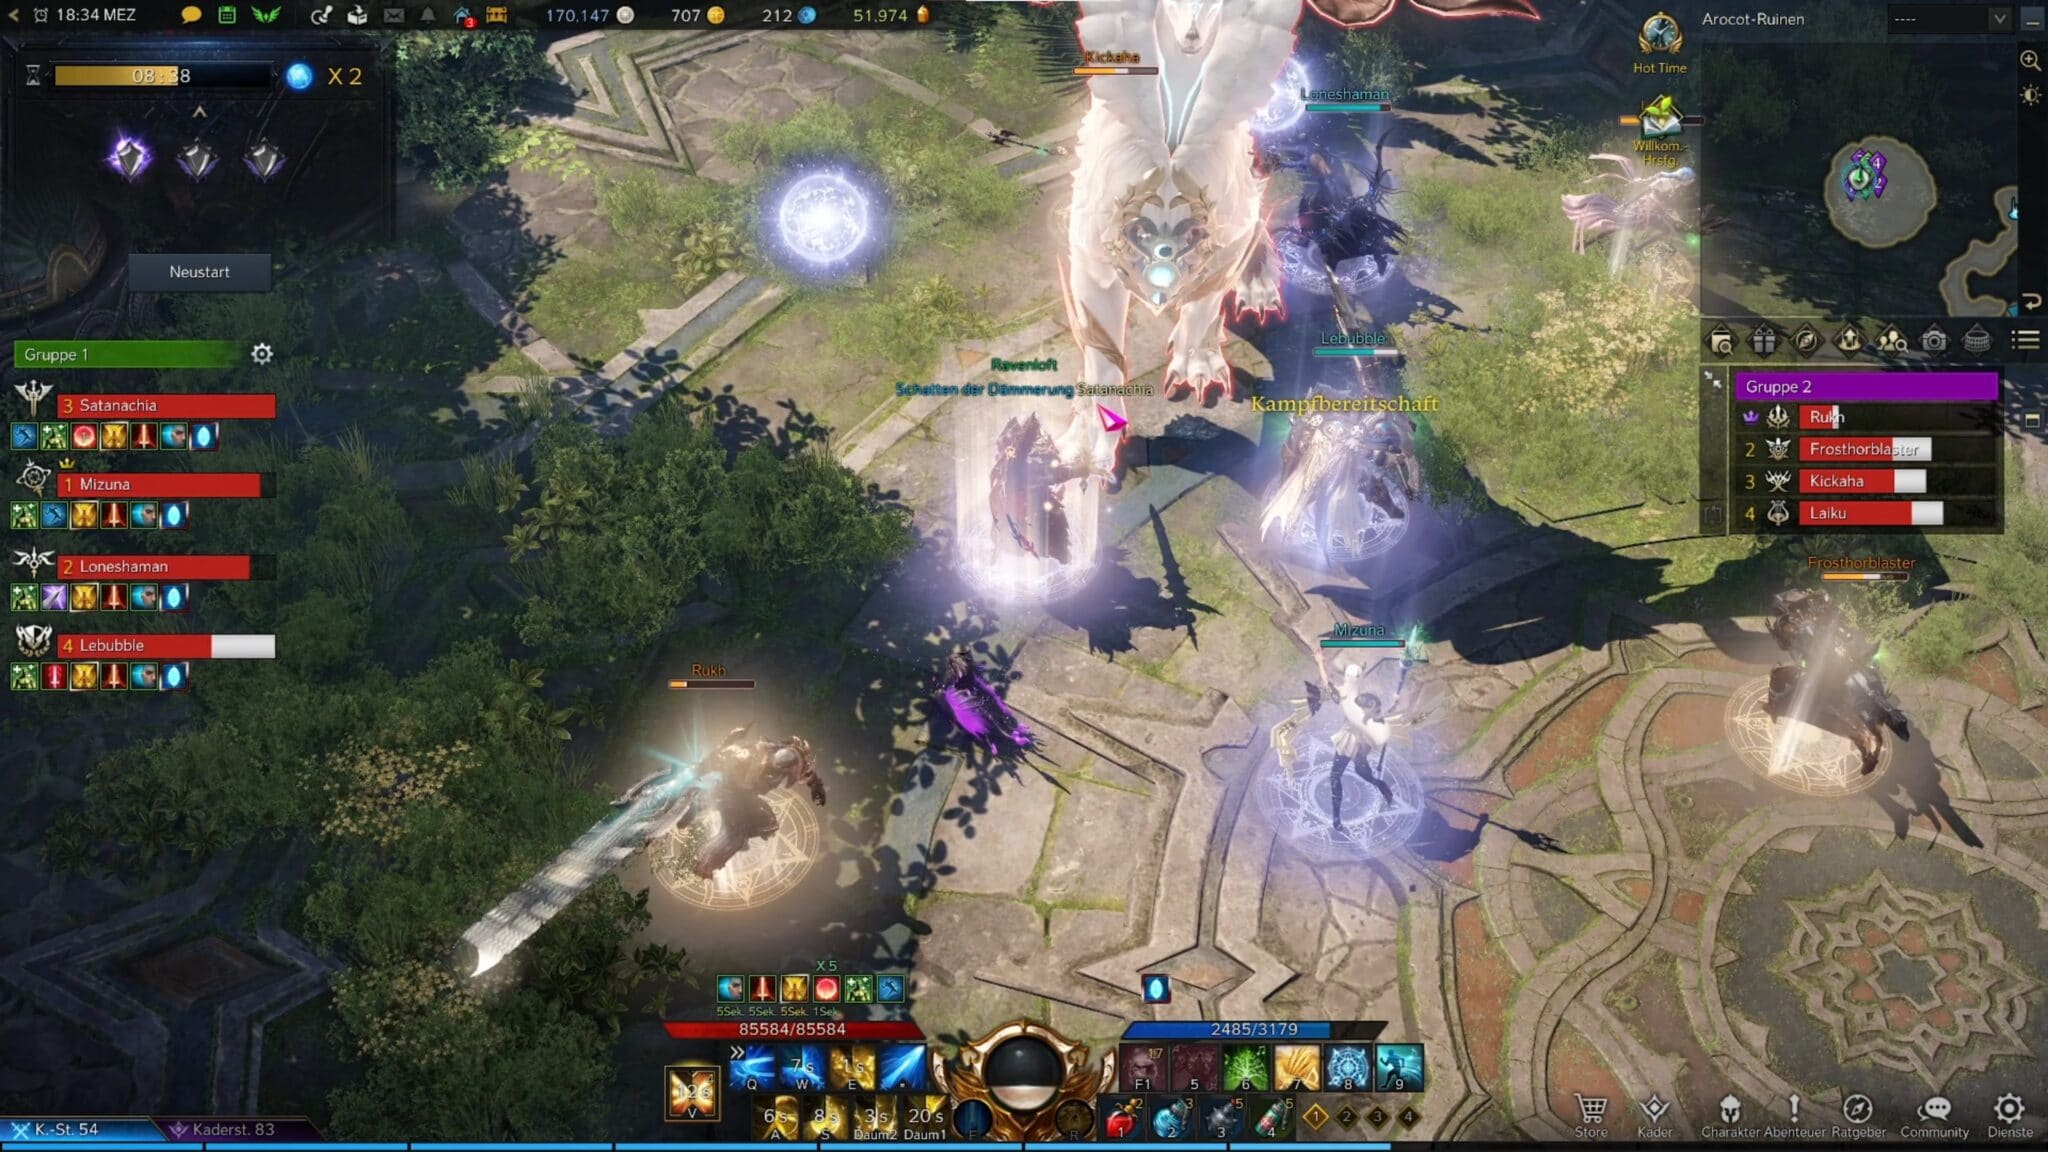
Unlike in Phase 1, the groups’ stars do not change, but neither do they lose their importance. Argos’ normal attack patterns hardly change, however, in this battle two mini-bosses must be defeated, which are fought one after the other by the sun and moon.
It is especially recommended to take “Destruction Bombs “ for Group 1 (Sun) and “Whirlwind Grenades “ for Group 2 (Moon), more on this below.
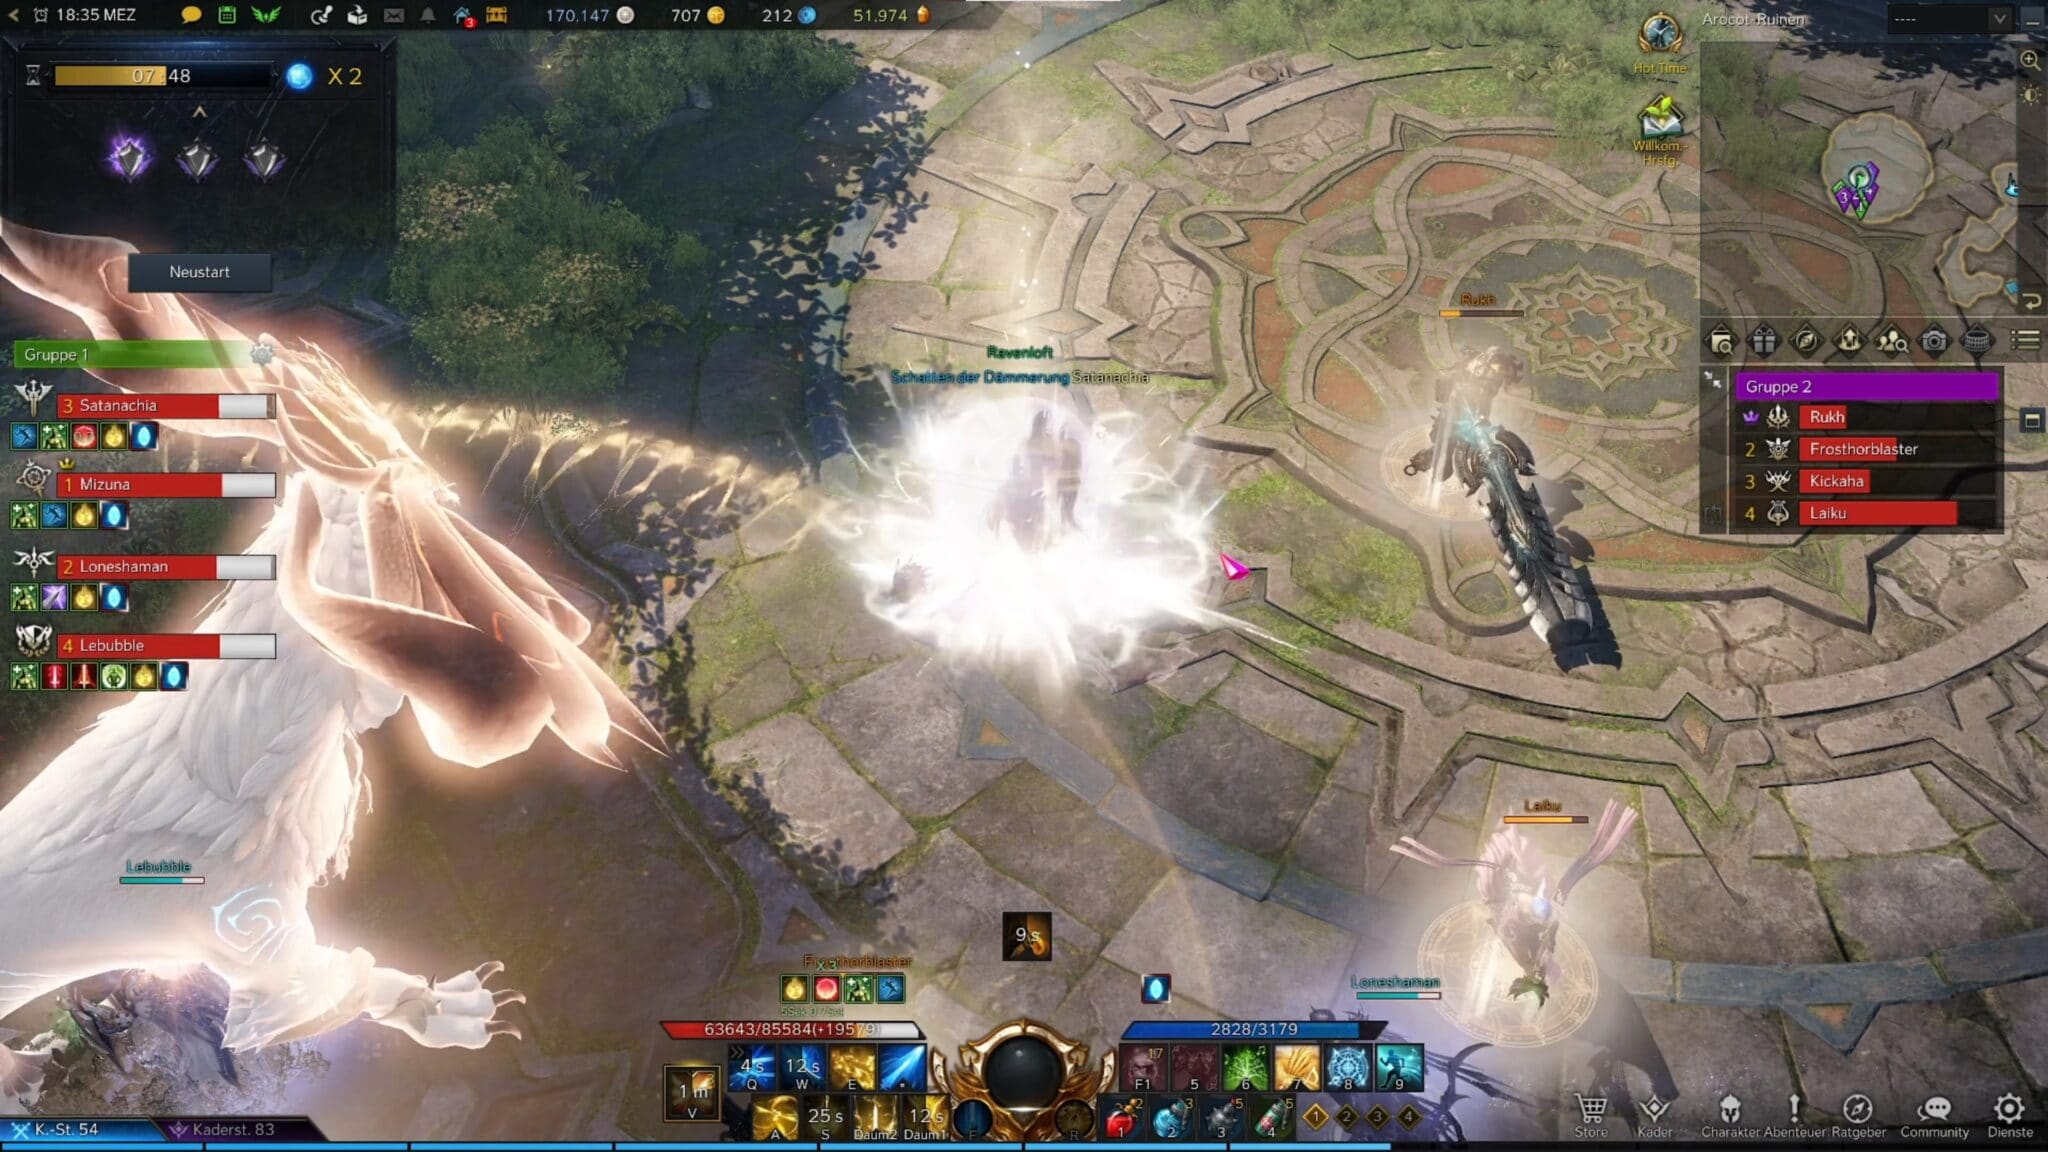
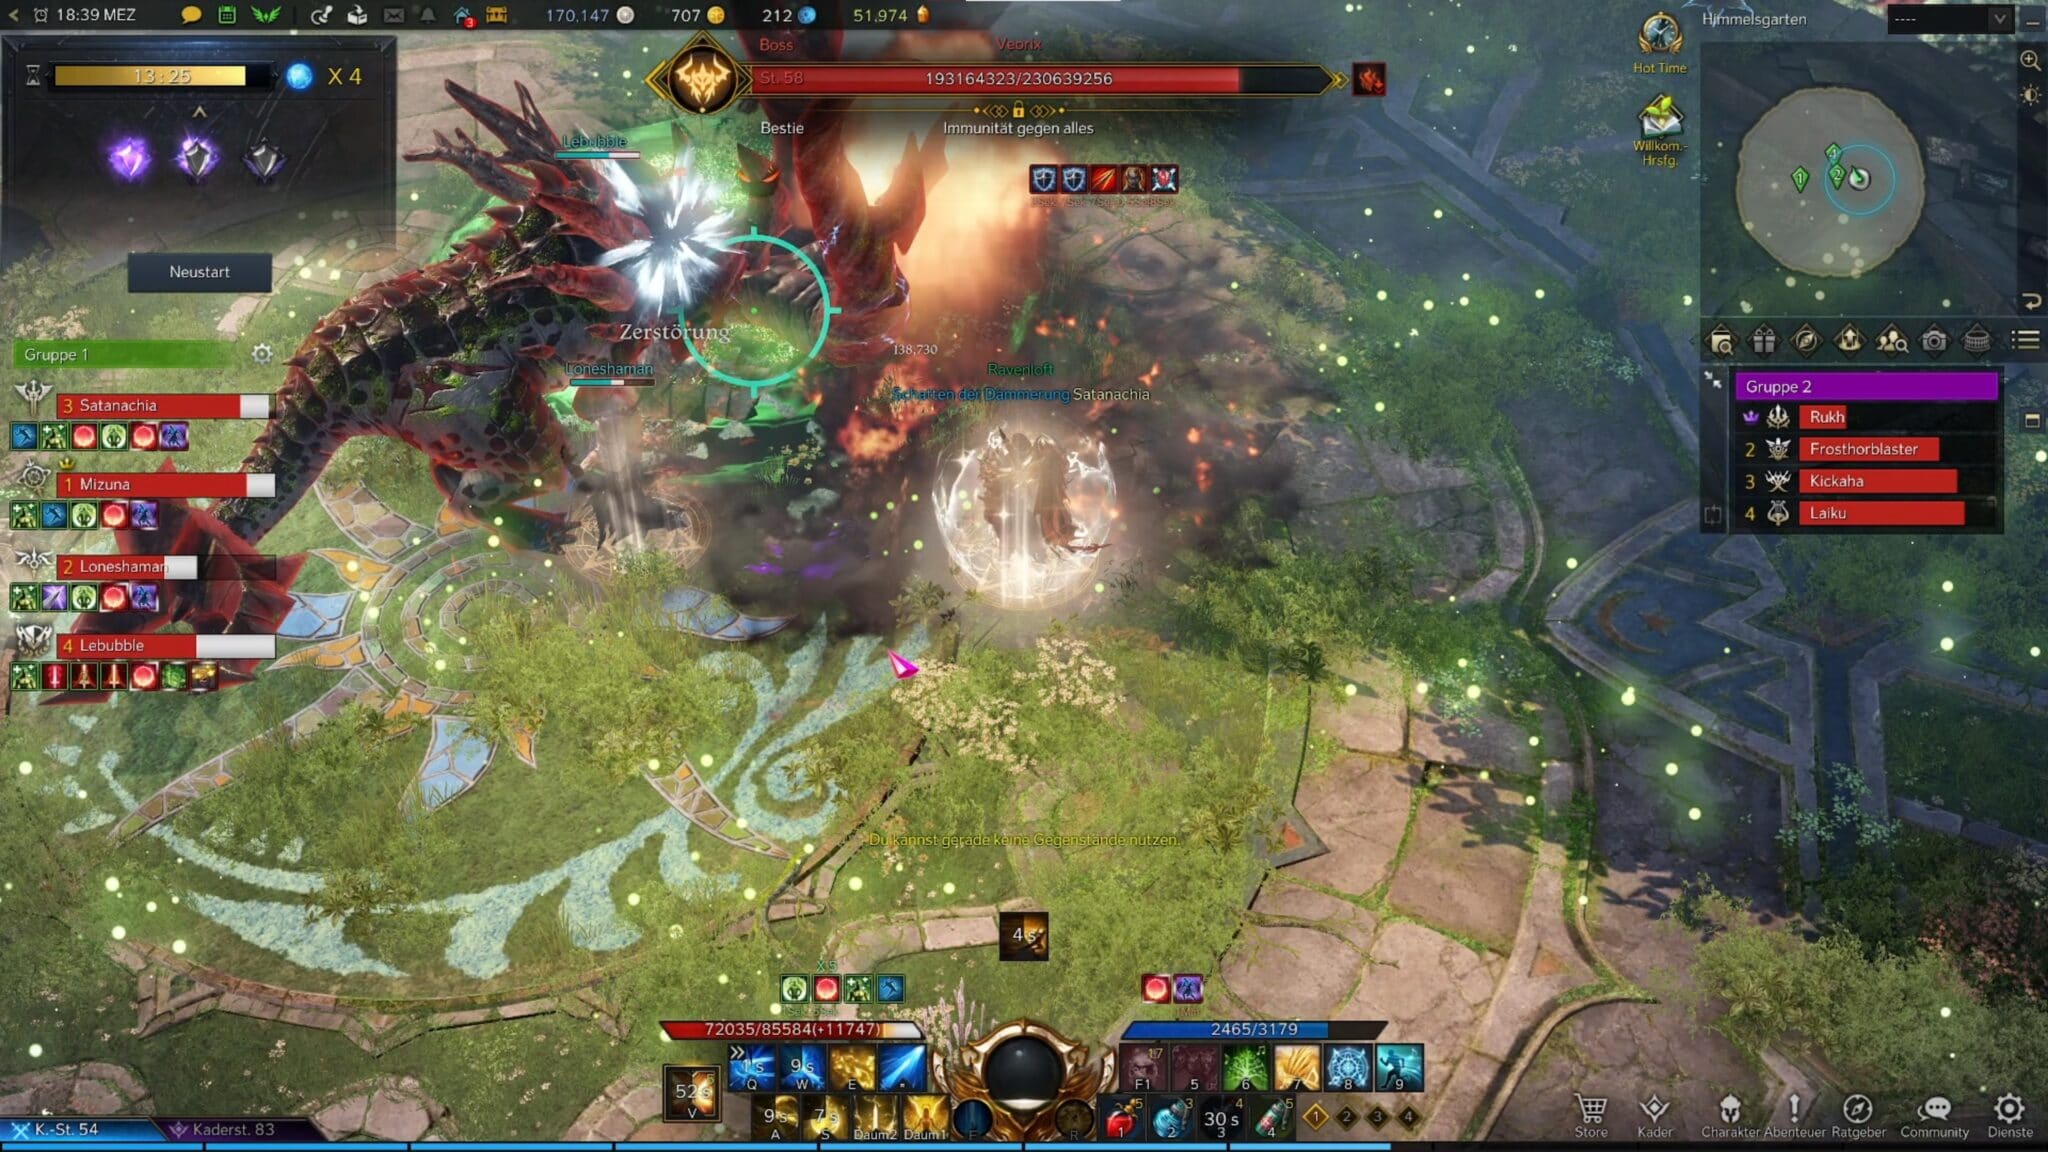
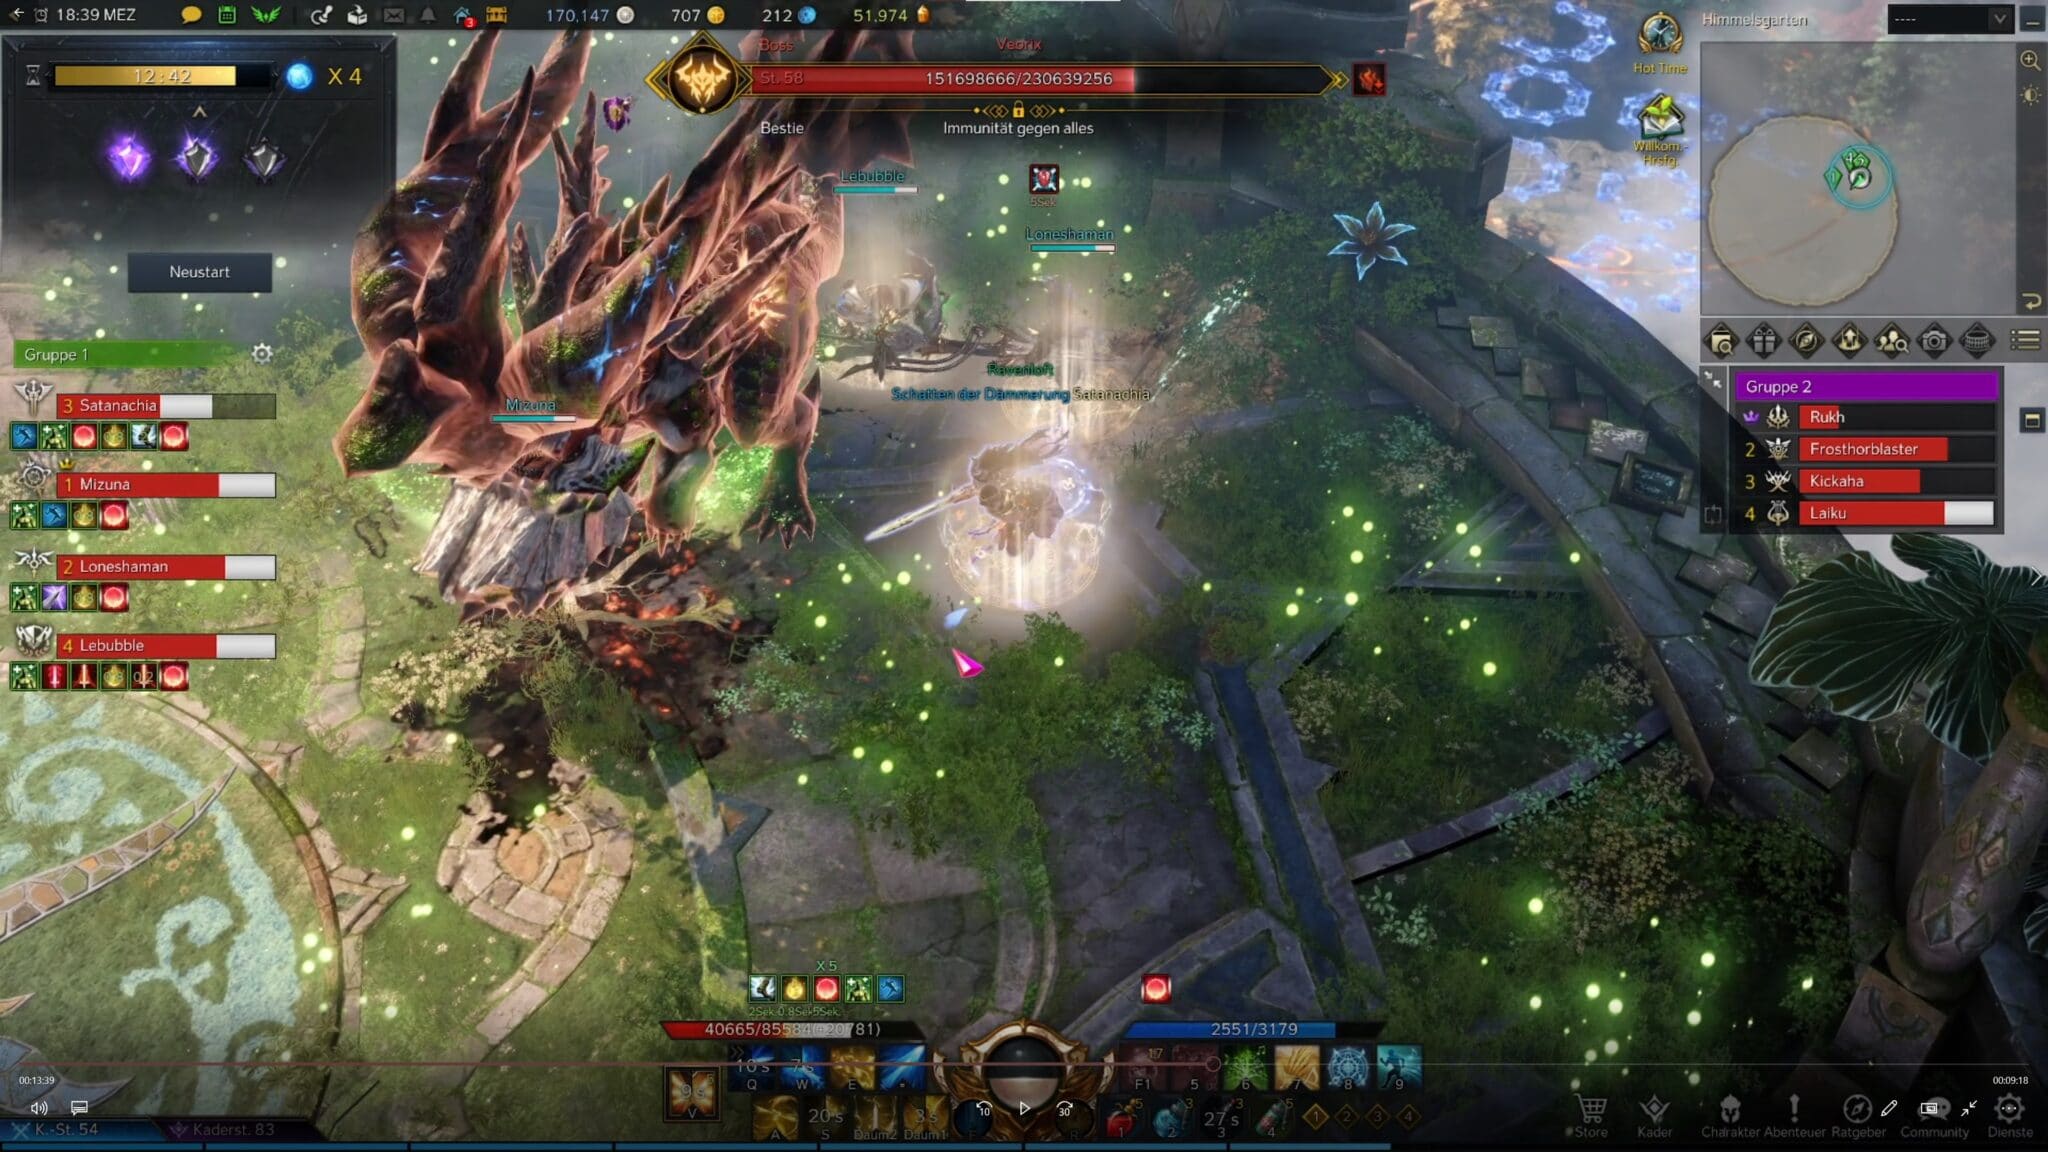
Veorix
Shortly after you start phase 2 of Argos, the sun group will be teleported from the arena with Argos to an arena with Veorix. This must be killed as quickly as possible by the sun group to prevent a death strike on the moon group.
Destruction
Once you make Veorix stagger, you can destroy either his tail or his horns. This is where the “Destruction Bombs” come in handy Each time you fail to destroy a part, Veorix deals more damage.
Green rings
Veorix makes green rings appear in the arena, which you should avoid to avoid a debuff, damage and a stun.

The patterns
For these mechanics, direct communication between the solar and lunar groups is essential
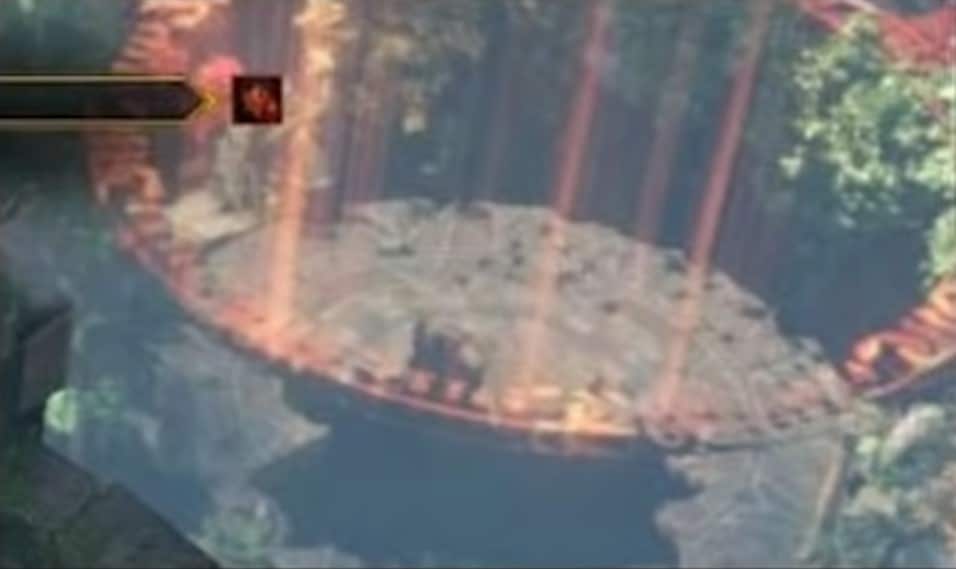
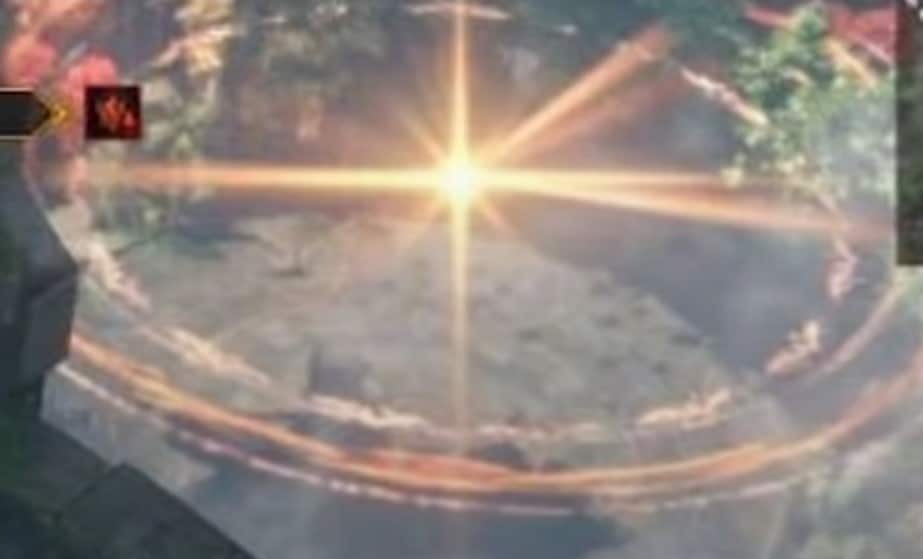
During the course of the battle, Argos – at the Moon Group – fires a laser into the sky, which gives the signal for one of six mechanics. In addition, a light blue circle forms around Argos that slowly expires, determining the timing of the mechanic.
Once the laser has been fired, a player of the solar group must run to the upper right edge of the Veorix arena and look down at the arena of the moon group. There you can then see one of six symbols:
- The Sun
This is the only symbol that concerns the sun group. At the end of the mechanics, the sun group must be in the middle of the Veorix Arena. - The Arrow
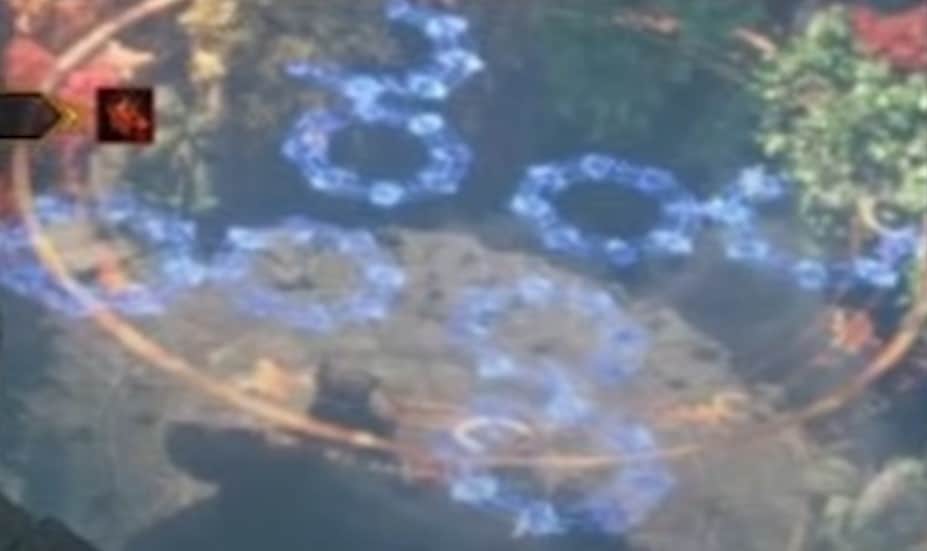
The moon group must be at the end of the mechanics in the part of the arena where the arrow points. - The blue circles
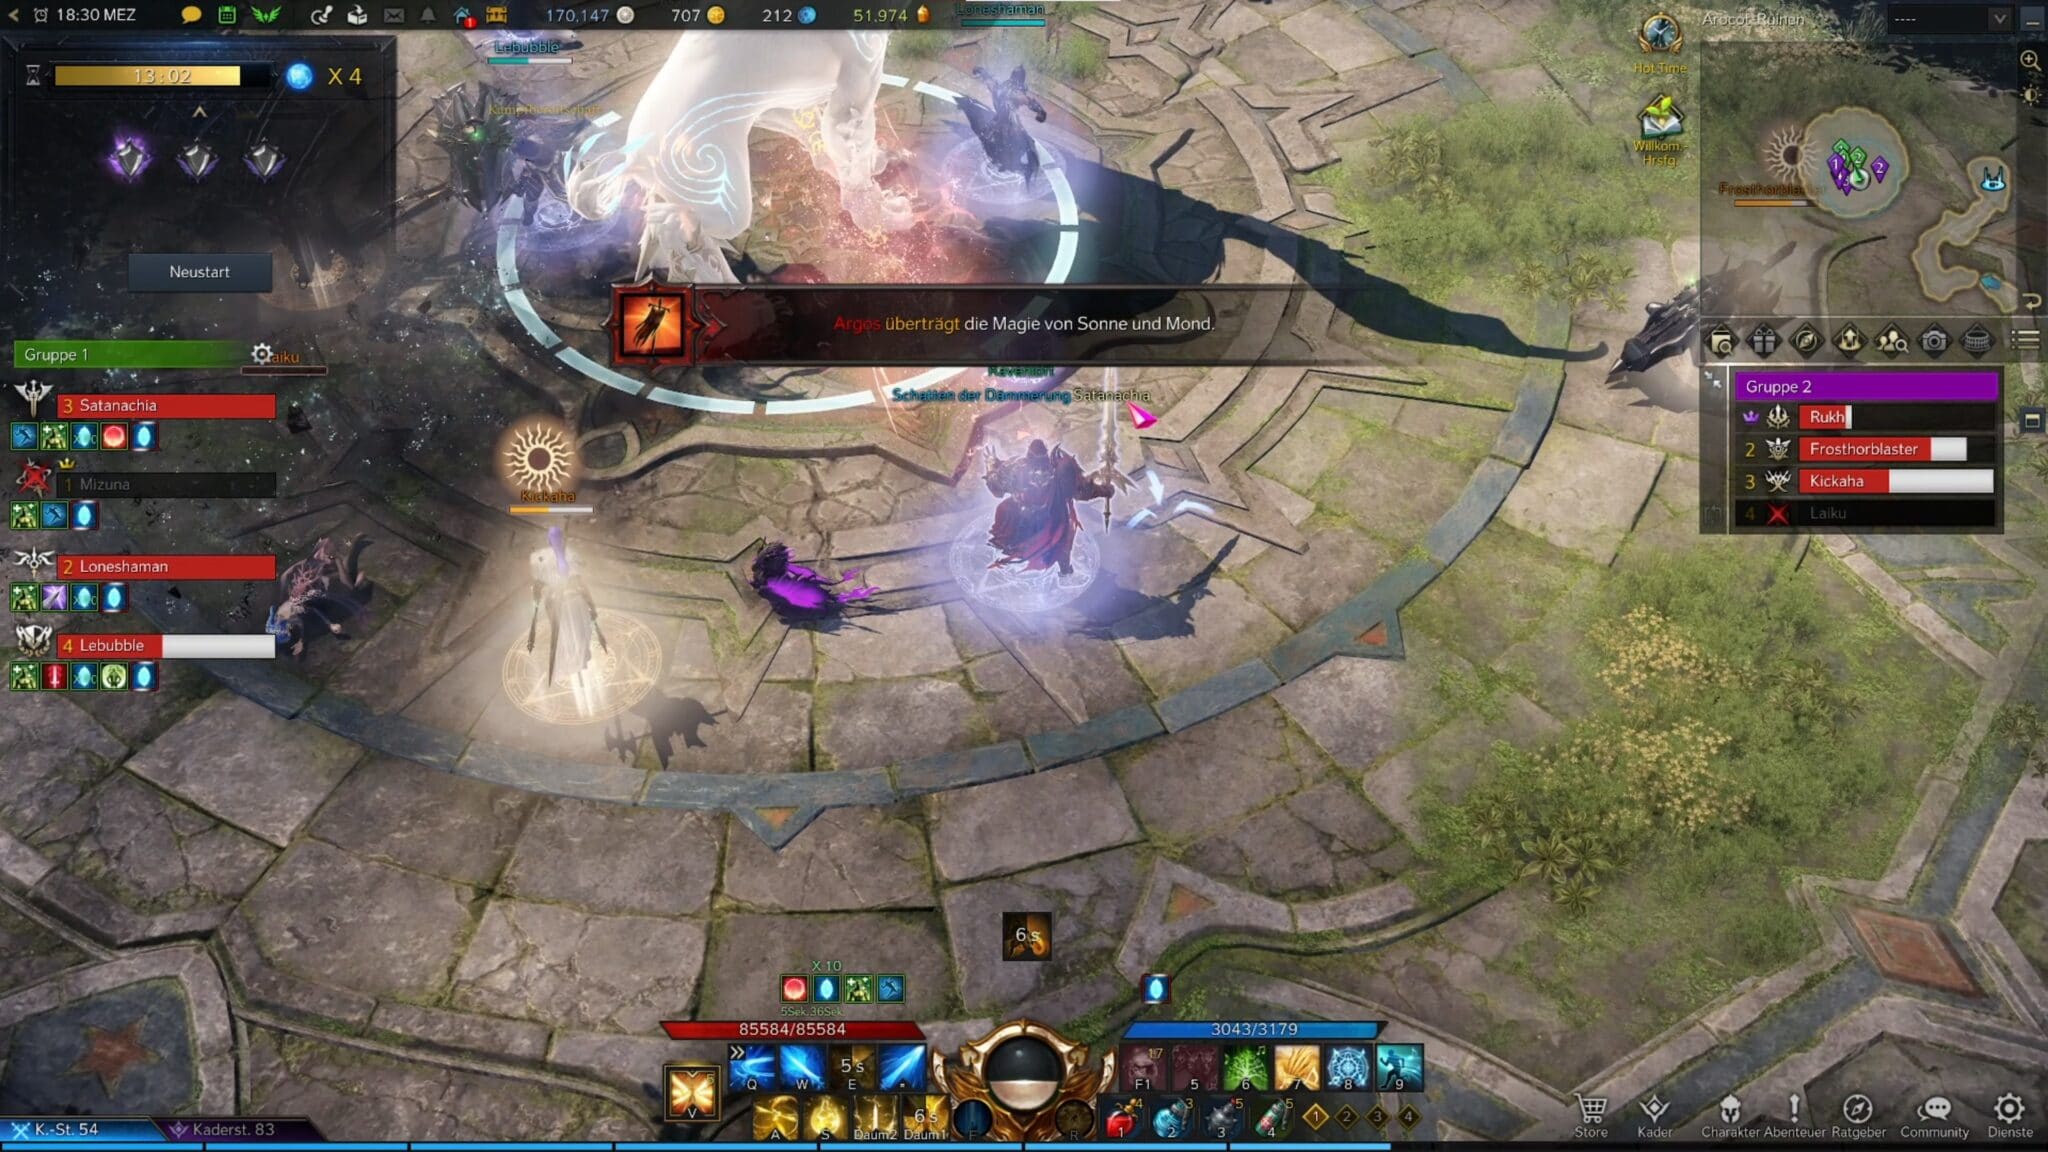
Orbs appear around Argos, which the moon group must collect. - Yellow and white circles
Round areas appear around Argos at 11, 1, 5 and 7 o’clock. Divide the moon group so that each player is assigned an area. Once the area changes from yellow to purple, players must stand in the areas until they get ten stacks of the buff and by attacking, transfer them to Argos. Repeat this procedure until the mechanic ends. - Orange Outer Circle
The moon group must be in the middle of the arena at the end of the mechanics. - Orange inner circle
The moon group must be at the end of the mechanics on the outside of the arena.
If you fail to observe these mechanics, Argos will perform a killing blow on the entire raid
Once Veorix is defeated, the Sun Group is teleported back to Argos.
Tarvos
Shortly after the return of the Sun Group, the Moon Group is teleported to another arena with the Miniboss Tarvos teleport.
Damage Check
Once teleported to Tarvos, the Lunar Group mustdo thirty percent damage to him within one minute and 30 seconds to prevent a death blow to the Solar Group.
We recommend you save your revival skills and other high damage skills for this. However, if your damage is still not enough, a few players from the moon group can exchange their “Whirlwind Grenades” for “Sinister Grenades”.
If you still can’t get Tarvos to seventy percent of his health fast enough, the Sun Group must destroy four totems in Argos’ Arena to avert the Deathblow and take the slowdown effect off the Moon Group.
Tarvos’ Rift
Once the Moon Group has brought Tarvos to below seventy percent, he transforms into Tarvos’ Rift This is where your “Whirlwind Grenades” come in handy, because after the boss is made to stagger, it receives much more damage.
This mechanic repeats when Tarvos only has thirty percent of his life left
Stone Strike
From time to time four round areas arise around Tarvos A player must be in each one within a short time, otherwise the entire moon group will receive a large amount of damage.
Once Tarvos has been defeated, the Moon Group will return to Argos’ Arena and you can finish the battle.
The battle against Argos as video
With these important mechanics, you can get through stages 1 and 2 of Argos without any problems. You can see how it all looks in action in the following video:
